Learn how to do this popular trendputting photos onto woods. The image will need to dry on the surface overnight and then you will wet the surface and rub off the paper. Youll need a thick layer.
how to put a picture on wood
Can I Get An Ar 15 In Wood Quora
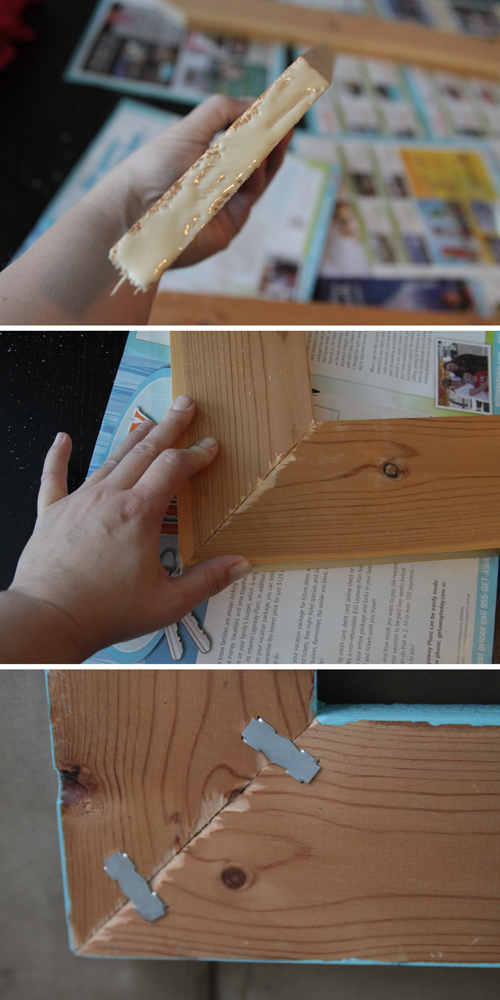
How To Build A Diy Wood Frame For Photos And Printables It S
Put Family Pictures On Wood Using This Simple Technique
Find a high resolution image you like.

How to put a picture on wood.
Press the photo onto the wood with the back of a spoon.
Water and elmers glue to mix for the hod podge 8.
How to mod podge pictures onto wood mod podging a picture onto wood choose a wooden object to mod podge the picture onto.
Transfer a picture to wood.
As soon as youve applied the nail polish remover put firm pressure on the back of the spoon to transfer the photo onto the woods surface.
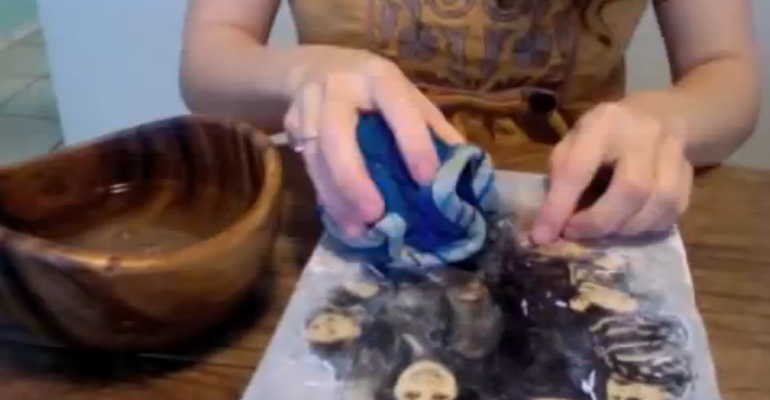
You will need to trace around the wood slice and trim down the photo to fit onto the wood slice.
Find a smooth light coloured piece of wood.
Soft wax or mod podge to smooth and seal print.
Butter knife or flat instrument to smooth out print onto wood.
Cut a few sheets of wax paper to the size of a standard piece of printer paper.
Use a damp cloth or sponge to wet one.
Paint the edges of your wood panel.
Wood stain optional and rags.
I have 3 different ways to try out.
Actually find a few so you have some to practice on.
Apply a coat of mod podge to the wooden piece.
Youll paint a medium on the front of the photo and then smooth it onto an unfinished or painted surface.
Today i wanted to show you my favorite craft project right now.
Check out this post for all the info.
And then wait 24 hours.
A container to shake the water and glue in 9.
How to print pictures on wood.
Cover the wood slice in a good layer of regular mod podge lay over the photo onto the mod podge and press to get out all the bubbles and wrinkles.
Sand the wood down if needed.
Gel medium must be an acrylic gel medium brush to apply gel medium to wood.
I plan on putting these pictures all over my.
You can put something heavy over to keep it smooth.
Youll print a photo out on a dry ink printer like laserjet or an hp.
Pigment optional sander or sand paper.
Brush to apply wax.
Press the photo down onto the wood.
Apply a generous amount of the transfer solution to the image.
Paint your choice of color 3.
Transferring a picture onto wood.
Or make your own.
Wood cut to the same size as photo.
Press the image photo side down onto the wood panel.
Pieces of wood to put your pictures on 2.
Paint the side edges of your wood object if desired.
This project is so much fun so easy and a great way to get creative.
Supplies needed to transfer a photo to wood.
Alternatively use a brayer to roll the photo smooth.
Move back and forth across the back of the photo so it lays down evenly.
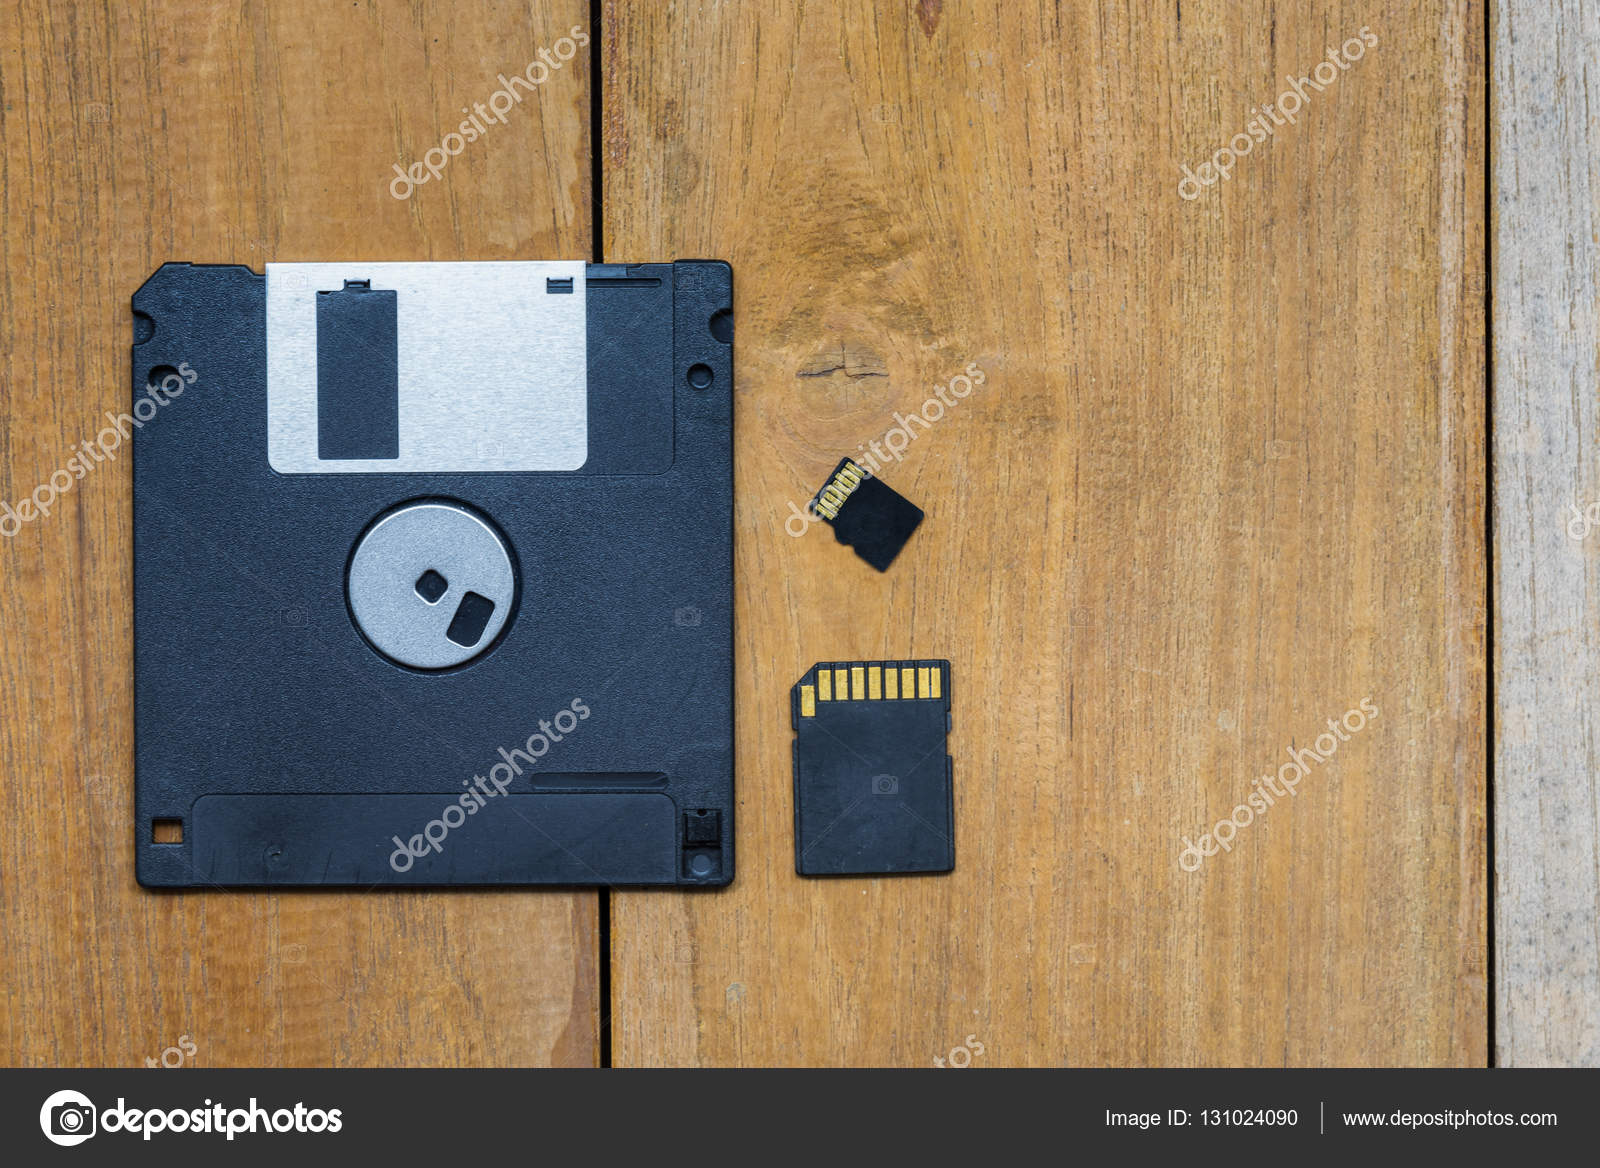
Diskette Sd Card Micro Sd Card And Memory Were Put Together On
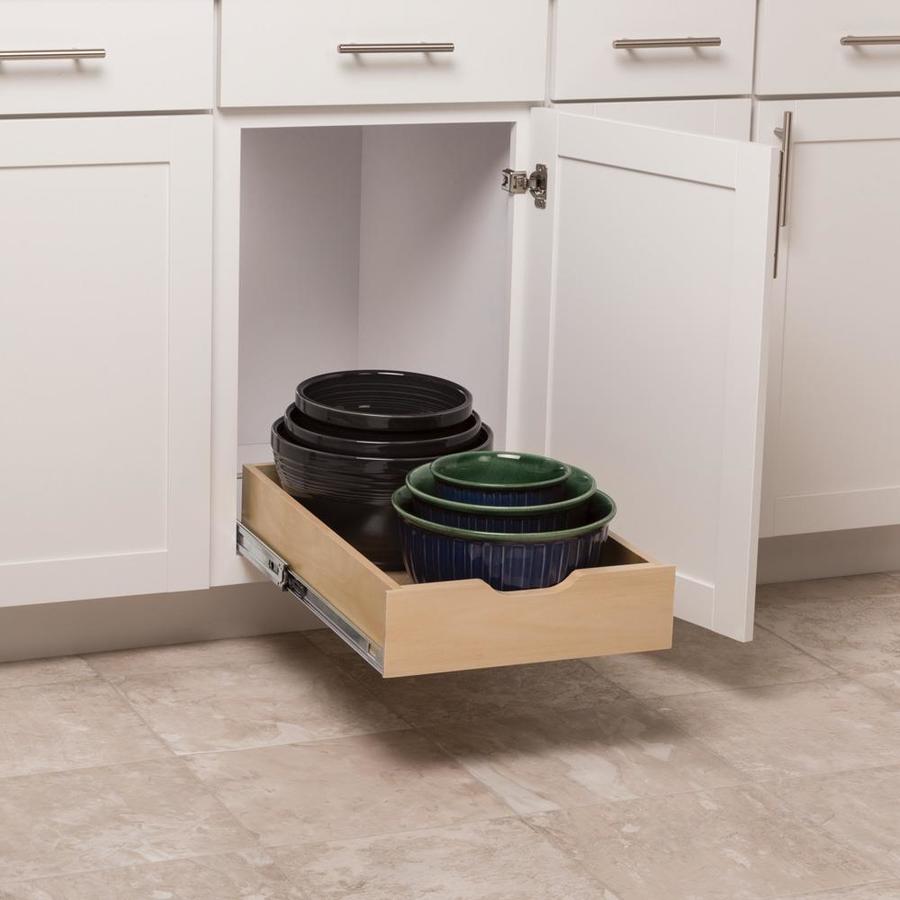
Simply Put 14 625 In W X 5 In 1 Tier Pull Out Wood Soft Close
Where To Put A Wood Plank Accent Wall In Your Home
How To Install A Reclaimed Wood Ceiling Treatment How Tos Diy
Transferring Photos To Wood With Silhouette Temporary Tattoo Paper

Farmhouse Signs Made 3 Ways With Vinyl Keeping It Simple

Wood Pallet Sign Tutorial The Thinking Closet

Wood Slice Ornaments

How To Put A Finish On Wood To Pop The Grain Furniture

0 komentar:
Post a Comment